
If you have a power-adder Mustang, sooner or later you are going to need a clutch. Such was the case for Bill Tumas of CJ Pony Parts, and his 2015 Mustang GT. When it only had 700 miles on the clock, he installed a ROUSH Phase 1 supercharger kit, which cranked up the rear-wheel output to just over 600 horsepower.
“Believe it or not, 30,000 miles later, this car is still on the factory clutch,” Bill said. “It is starting to slip however, so today I’m going to upgrade the clutch with a SPEC clutch and flywheel.”
This video gives a great demonstration of how to install a SPEC clutch with an aluminum flywheel into a 2015 Mustang. This part will also fit any Mustang GT from 2011 to 2017, and any Boss 302 Mustang from 2012 and 2013.

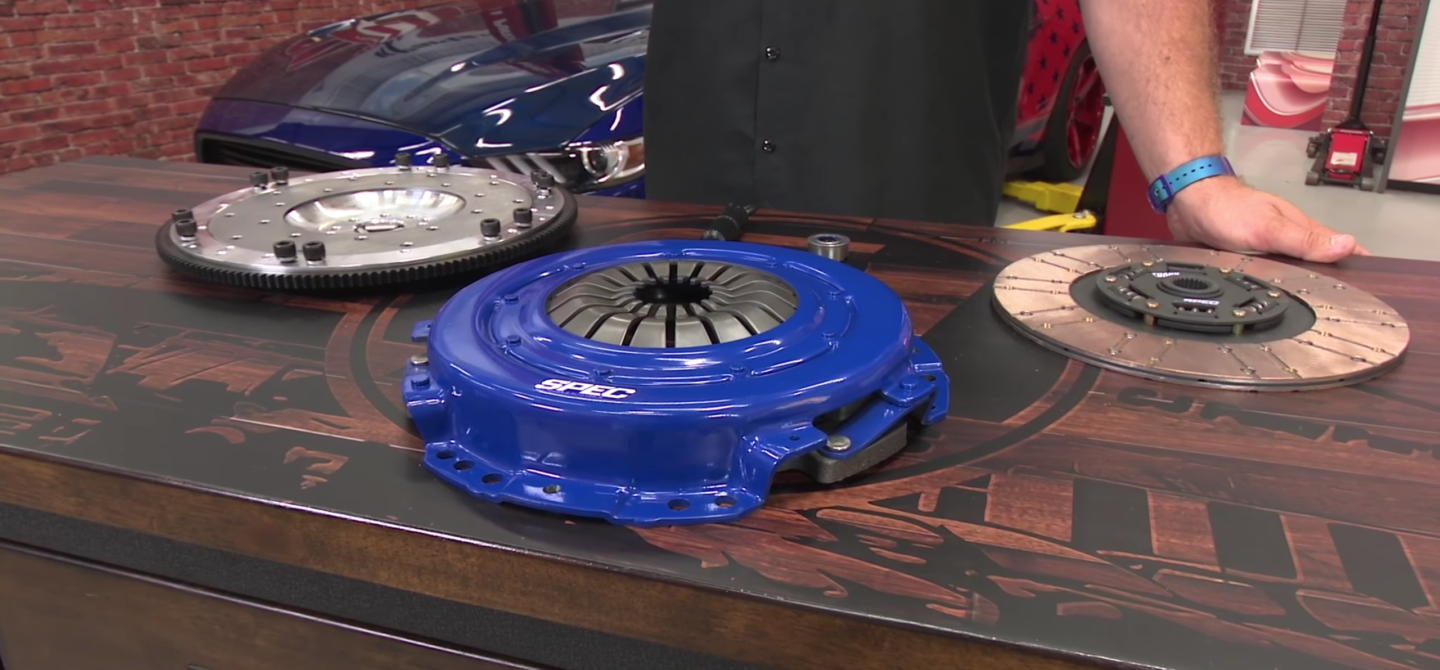
Here, Bill shows off the spread of parts that he received with the kit from SPEC: his single-disc clutch, pressure plate, and aluminum flywheel.
“I wanted to go with a single-disc clutch for my setup, and this is going to be probably one of the strongest single-disc setup,” Bill, who installed the SPEC Stage 3+ clutch kit in the video above, explained.
The flywheel is a direct replacement and it is SFI certified, so it is legal for racing if you were planning on doing that with your car. Being aluminum, the flywheel also has the advantages of being lighter and providing a smoother engagement. Not only that, but it is rated for up to 800 lb-ft of torque, so although this Mustang isn’t making quite pound out that much oomph, the new clutch is setup to handle more power down the line.
The installation will require a good set of hand tools: ratchets, sockets, and wrenches are really all you’ll need. A bearing puller would make the job easier, but if you don’t have one there are other ways to get the bearing out. With the project path in mind and the tools in hand, you can start the installation of the new SPEC Stage 3+ clutch kit.


After disconnecting the battery, start from the inside to make sure the shifter and boot are taken off for the job.
Bill starts by disconnecting the battery to ensure there is no power running through the wires while he is working on taking things apart. The next step is actually inside the car, where you need to take the shift knob and shift boot off, before you can start dropping the transmission. Once you’ve gotten that taken out, you can move under the car.


To give yourself more room, you’ll want to move the extension pieces on the exhaust and the catalytic converters, remembering to also disconnect the wires before trying to pull it out. With the exhaust out, you can now pull the driveshaft so you can start work on taking out the transmission.

Start by pulling the crossmember and disconnecting the wiring harness from the passenger side of the transmission. Take the starter out, remove the clips and bolts from the transmission, disconnect the fluid line, and drop the transmission down. With the transmission out, we’re ready to remove the factory clutch.


Here is a close-up of the fluid line on the transmission, it's just a simple spring clip, so be gentle when pulling it out.
Start clutch removal by inserting the input shaft tool that came with the kit, that will hold the disc in place while you remove the bolt for the pressure plate. With the plate and disc off the engine, the next and final step in taking the old clutch out is to remove the pilot bearing and replace it with the new one that came in the kit.
“There’s a couple different ways to do this and a puller is the easiest,” Bill explained. “But there’s a lot of old-school methods you can look up online as well.”


It’s best to line up the holes with the bolts before you start putting the new clutch back into the car. Hammer the dowels in place, and now you’re ready to start putting things back together. Put in the flywheel, the clutch disc, and the pressure plate back in, and you’re pretty much ready to reinstall the transmission and everything else you took out, just work backward from where you started. Make sure that you watch the video and follow along with all of the little tips and tricks he provides throughout teardown and install.


Once everything is out, the install process is as easy as working backward to put the new equipment in an get the old stuff back the way it came out.
With everything back in, you just need to bleed the clutch, hook up the battery, top off the fluid, and make sure that you do the crank-relearn at either a dealer or do it through your SCT Performance programmer. With everything installed, set, and ready to go, the only thing left to do is take it for a test drive.


Bill’s definitely happy with his new clutch kit. It’s got a good feel and it will stand up to the power of his Mustang for years to come.
The new SPEC clutch is more aggressive than the factory one, and it may even have a different engagement point because it’s new. Bill explains that he was worried the single-disc, high-horsepower clutch that he was worried it was going to be a little less pleasant for driving, but he says it feels almost stock, maybe just a little bit heavier. “The pedal feel is great,” Bill concluded.